How to choose the right sim for your verification in Thailand?
Planning a trip to Thailand with a big family? Staying connected is more than just having data; it’s about having a number that actually works for local apps. From the 'hidden' passport registration rules at AIS to the True-dtac network marriage, here is everything I learned about choosing the right SIM including a simple trick to keep your kids off their screens while still keeping them online.

Published by

It was a week before our vacation to Thailand that I started looking for the right SIM card to install for my family and me. We were a large group of travelers, including our immediate family, our parents, and my sister-in-law's family. You can read all about our trip to Thailand starting from Chapter 1 here.
I know myself well enough to know that I’m not the type to land in Thailand and start hunting for a SIM card even though I’m sure it’s not a huge deal. I also knew that taking a local roaming package from my cellular carrier back home would be very expensive, so I looked for something in between. I was only responsible for my own "root" family and not the entire group, so I thought it would be an easy task. At least, that’s what I thought at the time.
eSIM: The Modern Way to Connect
My wife and I both have Android phones that support eSIM, so this seemed like the best choice for us. There are many services and apps today that offer unlimited data plans, making it easier than ever to stay connected. But before I continue and tell you which one I chose, I want to teach you how to check if your phone even supports eSIM. It would be a shame to buy a plan only to find out your hardware can't handle it!
How to check if your phone is eSIM ready:
The easiest way to find out is to check for an EID number. This is like the digital "ID" of the eSIM chip inside your phone.
The "Dialer" Trick: Open your phone app and dial *#06#. A screen will pop up with your phone's identification numbers. If you see an EID number on the list, your phone supports eSIM.
The Settings Menu: * Samsung: Go to Settings > Connections > SIM manager. If you see "Add eSIM," you are ready to go.
Pixel/Other Androids: Go to Settings > Network & internet > SIMs. Look for a plus sign (+) or "Download a SIM instead."
Finding the Right Provider
I’m already very familiar with the Airalo app, but I’d only ever used it for my travels in Europe. I wasn't sure what the experience would be like in Thailand, or if it was the most cost-effective choice for Southeast Asia. I also knew there were likely other, cheaper options that would work just as well.
After doing some research online, I discovered that AIS (one of the biggest mobile operators in Thailand) offers an eSIM service specifically for tourists. This caught my attention because going directly through a local carrier often means better speeds and a more reliable connection than using a third-party roaming app.
Why Not AIS?
It was only a couple of days before our flight, and I told myself I would test the AIS service first before buying it for my wife as well. It turned out to be a disaster!
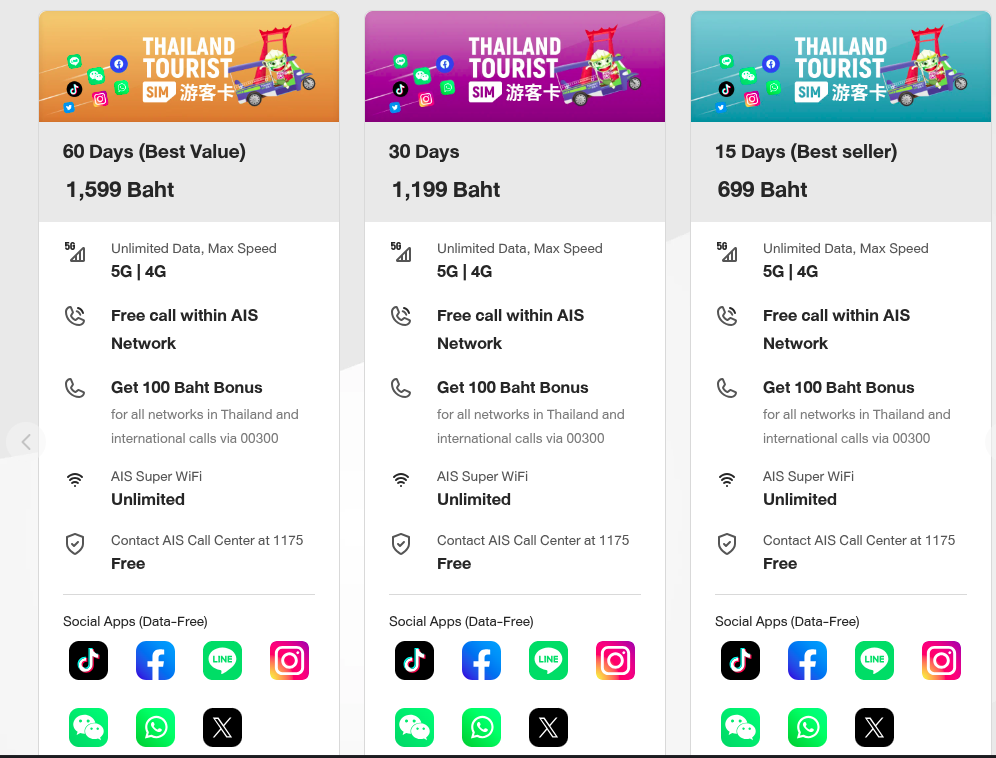
I needed the 699 Baht plan (~$20 USD), and at first glance, I thought, “This is the cheapest and easiest choice I have.” The problem is that the real headache only starts after you have already paid.
Apparently, when you buy an eSIM from any Thai entity, you are required by law to provide your passport for "real-name registration." I knew this was a rule, but I mistakenly thought it only applied if you were buying the SIM in person in Thailand. I assumed buying it online would be a simpler, digital process.
The worst part? They never tell you about the strict registration steps or the document requirements before you click that pay button. You hand over your money, and only then do you realize you’re stuck in a loop of identity verification that isn't as "instant" as they claim.
The Activation Nightmare 1
Once I bought the plan, I had to activate it. The system required me to use my laptop camera as a scanner for my passport, and that was the start of a total nightmare.
I tried every possible angle to hold my passport steady in front of the lens, but I just couldn't get it to fit the required frame correctly. Every single time it failed, the system made me start the entire process from the very beginning. It was driving me crazy-how can the number one telecom company in Thailand have such a terrible user experience?
I was almost ready to give up and lose my money until I had an idea: what if I tried the verification process from my phone instead? I opened my order URL on my mobile browser and started the whole thing over again using the phone’s camera. After about an hour of struggling, it finally worked, and I was approved.
I wish it was the end of the story.
The QR Nightmare, Part 2
Usually, after approval, you expect a QR code to arrive immediately. I did receive an email, but the QR code itself was missing-it was just an empty box. When I tried clicking the URL provided, it led to a "404 Page Not Found" error. I couldn't believe it. I started second-guessing myself, thinking maybe I had done something wrong in the process. But no-the system was simply full of bugs.

At that point, there was nothing left for me to do on my own except contact their support. To be fair, the support team was very kind and genuinely tried to help me, but it wasn't an immediate fix. They had to "escalate" the issue to their specialists to investigate.
With my flight date getting closer and closer, I was stuck in a stressful waiting game. I didn't know if they would fix it in time or if I should just cut my losses and buy a different eSIM from another provider. Eventually, after more than 48 hours of waiting, I finally received a new email with a working QR code that I was able to install on my phone.
Never make the same mistake twice
I was so relieved that I hadn't waited until the last day before our flight to deal with this. After that whole ordeal, I knew one thing for sure: I was not going to put my wife through the same process on her phone.
It was absolutely exhausting. At that point, I would have happily paid double the price for Airalo just to keep things simple. Sometimes, the "cheapest" option ends up being the most expensive when you factor in the stress, the hours of technical support, and the fear of being disconnected.
For my wife's phone, I went straight back to what I knew worked. No passport scans, no 48-hour "specialist" delays, and no empty QR code boxes. Just a few clicks, and we were ready to go.
What about devices without eSIM?
My kids' phones don't support eSIM, so I originally told them I would buy local physical SIM cards for them at the airport or at the first 7-Eleven we found along the way. Somehow, that never actually happened.
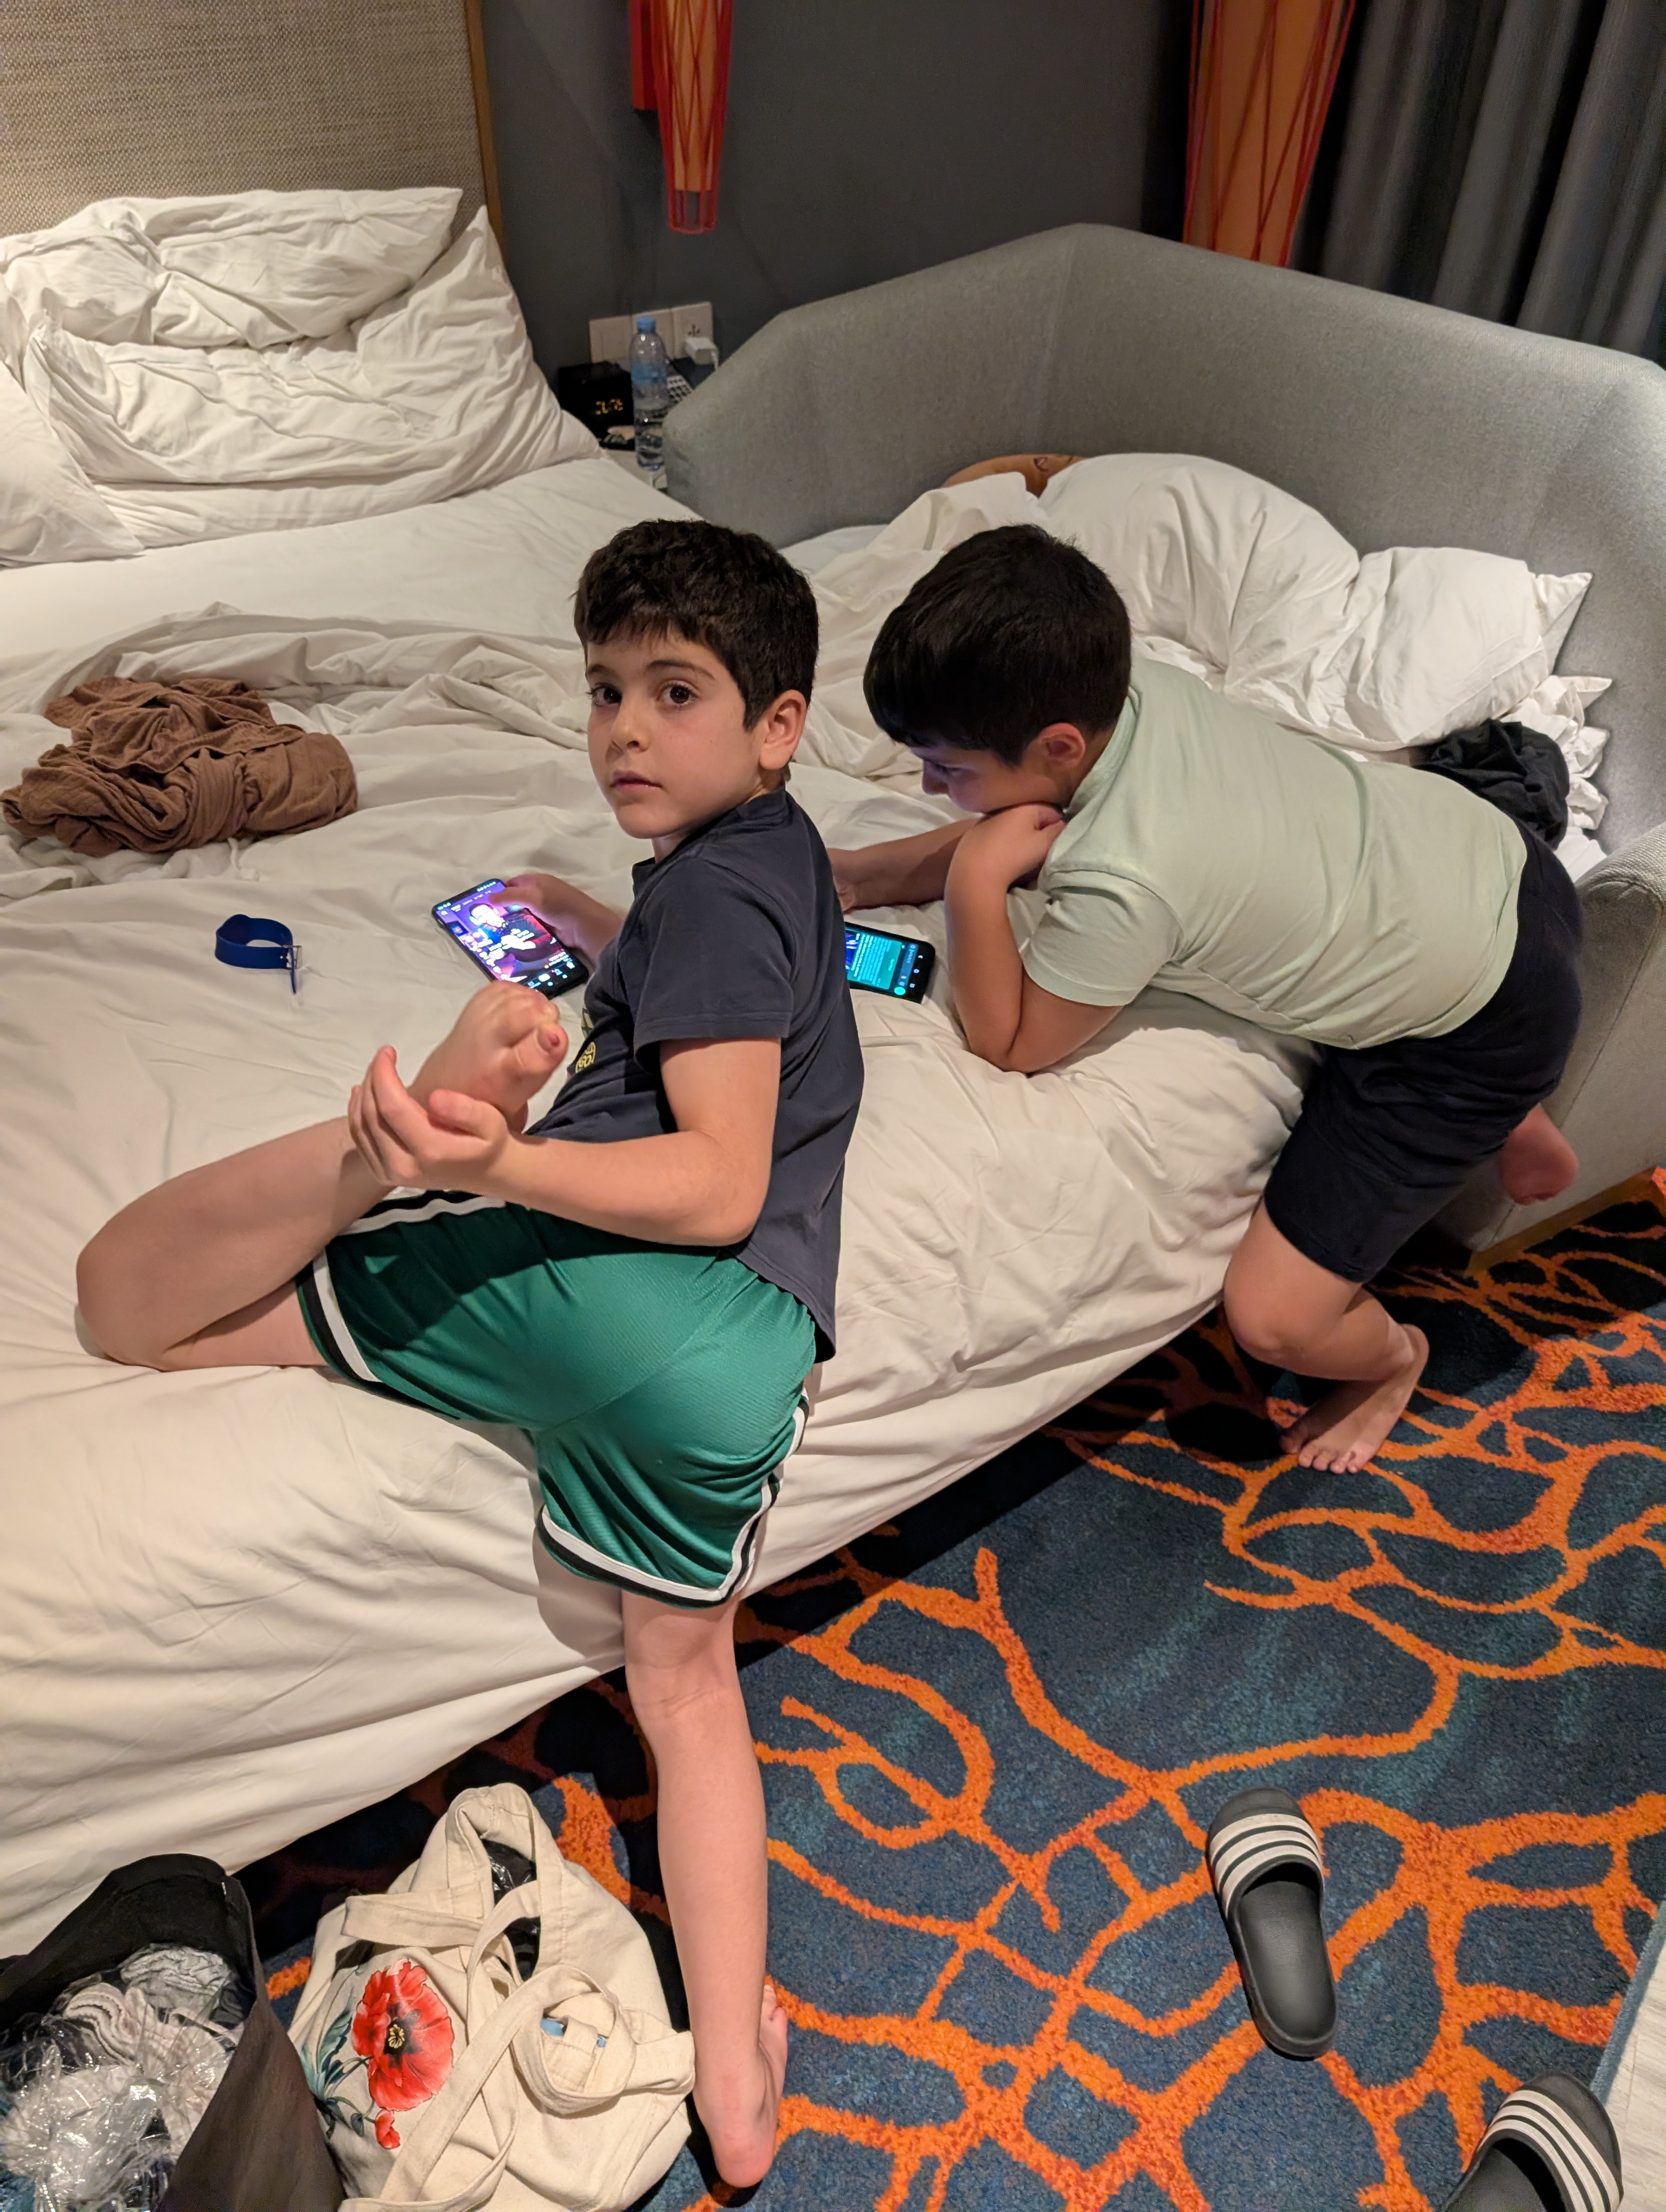
It wasn’t because I couldn't find them-they are everywhere in Thailand! It was because, as we started our trip, I realized they didn't really need them. I preferred for them to focus on having fun and experiencing our journey together rather than having their heads stuck in a screen the entire time.
To my surprise, it worked out perfectly. I connected them to the hotel Wi-Fi the moment we checked in each day. If they really needed to be online while we were out exploring, I simply opened a shared hotspot (tethering) from my phone, and they used my data plan. This kept them connected when necessary but encouraged them to look at the world around them the rest of the time.
AIS vs. dtac: Is there actually a difference?
After all the stress I went through to get my AIS eSIM working, you’re probably wondering: was the connection actually better?
The short answer is: not really. I was on AIS, and my wife was on a dtac plan through Airalo. We traveled together through Bangkok, Pattaya, Koh Samui, and Hua Hin, and we didn't notice any difference at all. There were no dead spots that I can remember for either of us. Even when we were deep in the jungles of Koh Samui on a Jeep tour, both of our phones worked just fine.
The Reality in 2026
What many travelers don't realize is that True and dtac merged recently. They now operate as one giant network, which has massively improved their coverage. While AIS used to be the undisputed king of the "jungle and islands," the True/dtac combination has caught up.
Unless you are planning to go to extremely remote mountain peaks or tiny, uninhabited islands, you probably won't notice a difference between the "Big Three."
My advice? Don't choose based on which network is "the best" choose based on which one is the easiest to install. If I had to do it again, I would have put everyone on the simpler service from the start.


Discussion
Reader comments
0 approved